Ask any packaging engineer where a beauty launch actually slips, and the answer is rarely the bottle itself. It is the interface — the 25 to 40 millimetres at the top of the bottle where two factories, working from two different drawings, have to agree to a fraction of a millimetre. Source the bottle from one supplier and the cap from another without pinning that interface down, and the failure is quiet: the parts screw together, the first sample looks perfect, and the leak only appears on a pallet sitting in a warehouse six weeks later.
This guide is the technical version of the conversation we have with brands every week. It explains what the numbers on a neck finish mean, why 18-410 and 18-415 are not interchangeable even though they look identical, how DIN 18 differs, and what to put on a purchase order so the cap and the bottle arrive speaking the same language.
1. What the number on the neck actually means
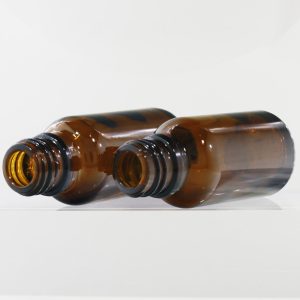
A neck finish designation such as 18-410 is a GPI code (formerly GCMI, the Glass Packaging Institute standard). It has two parts, and only one of them is a diameter.
The first two digits: the T dimension
The first number is the nominal thread outside diameter in millimetres. For 18-410 and 18-415 the nominal figure is 18 mm, while the measured thread major diameter on a real bottle is typically around 17.75 mm. This is the dimension your cap supplier cares about most, because it decides whether the cap engages at all.
The last three digits: the thread series
The suffix defines the thread profile, the height of the finish and how many turns the thread makes. A 400 series is the shortest configuration, roughly one turn. A 410 series is taller, about one and a half turns. A 415 series is taller again, around two turns. The taller the series, the more room the closure has to seat, to hold a tamper-evident band, or to hide a child-resistant mechanism.
Two finishes can share a diameter and still be completely different closures. This is the single most common misunderstanding we see in RFQs.
The other four dimensions nobody writes down
A diameter alone is not a specification. Four more numbers belong on every drawing:
- T — thread outside diameter, the number the cap slides over
- E — outside diameter of the neck body below the thread; thread depth is half the difference between T and E
- I — inner bore of the neck. This controls plug-seal closures and whether your filling nozzles fit
- H — height of the finish, from the sealing surface down to the shoulder or neck ring
A cap can be perfect on T and still fail on I: a plug that is 0.3 mm too small will not seal, and one that is too large will crack the collar of a dropper or prevent the pipette from seating.
2. 400, 410, 415: choosing the series, not the millimetre
In practice almost every cosmetic bottle we produce runs on one of three series.
- 400 series — the shortest. Used for light closures on small bottles, sample vials and low-viscosity products where the cap does not need much thread to stay put. Fast to cap, but the low thread engagement limits how much force you can apply.
- 410 series — the workhorse. 18-410, 20-410, 24-410 and 28-410 cover most serums, lotions, toners, fine mist sprayers and treatment pumps. If you are launching a standard skincare line, this is almost certainly your finish.
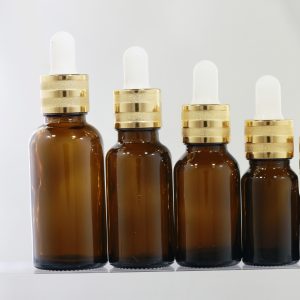
- 415 series — taller. Common on essential-oil and aromatherapy dropper bottles, on formats that need a tamper-evident band with room to sit, and on child-resistant closures. The extra height gives the cap body something to grip.
Here is the trap. A 410 cap physically screws onto a 415 neck. The diameter matches, the thread starts, and the cap goes on. That is exactly why the problem escapes sample approval: the closure sits at the wrong height, the liner never compresses against the sealing surface, or the tamper-evident band has no room to seat. The bottle passes a visual check in the QA room and fails a leak test on the filling line.
The reverse also happens: a 415 cap on a 410 bottle bottoms out early, leaving a visible gap at the shoulder and no seal at all. If your capping line reports “caps that spin but never tighten”, check the series before you check the machine.
3. DIN 18 and GL 18: the European dropper standard
European dropper bottles are usually specified to DIN 18 (German) or GL 18 (French), which describe effectively the same neck: a thread outside diameter of about 17.75 mm, an inner bore of roughly 10.65 mm, and a shoulder diameter near 20 mm. This is the neck behind most 10 ml to 100 ml essential-oil and serum dropper bottles sold into the EU.
You will see suppliers label the same bottle as “DIN 18” and as “18-415”. Sometimes that is accurate and the two standards overlap in practice; sometimes it is marketing shorthand. Treat it as a claim to verify, and ask for the drawing. Two things matter more than the label:
- The bore (I dimension). The dropper collar plugs into the bore. If the bore runs large, the collar can lift under pressure in transit and the pipette drops. If it runs tight, the collar will not seat and the fill level shifts.
- Finish height (H). A glass pipette has a fixed usable length. The combination of bottle height, finish height and collar depth determines whether the tip reaches the product and whether it touches the bottom when the cap is closed.
If you are specifying serum bottles, our guide to choosing glass dropper bottles for serum covers capacity and pipette length in more detail.
4. Crimp finishes: where there is no thread at all
Fine fragrance does not use a screw thread. The pump is held by an aluminium collar that is mechanically crimped over a bead on the bottle neck. The common sizes are 15 mm and 18 mm crimp, with 13 mm on small samplers and 20 mm on larger flacons.
A crimp joint is a metal-forming operation, not a thread match, so three things must line up:
- the outside diameter of the neck bead, typically held to a tight tolerance on the order of a tenth of a millimetre
- the neck height and the position of the bead, which decide how much aluminium the crimping head has to work with
- the crimp settings on the filling line — collar diameter, crimp height and the force applied
Never approve a crimp bottle against a pump by eye. Send both components to the filler, or to the capping machine manufacturer, and run a real crimp. A crimp that is 0.2 mm too high will hold pressure at the factory and leak alcohol vapour in a warm shipping container.
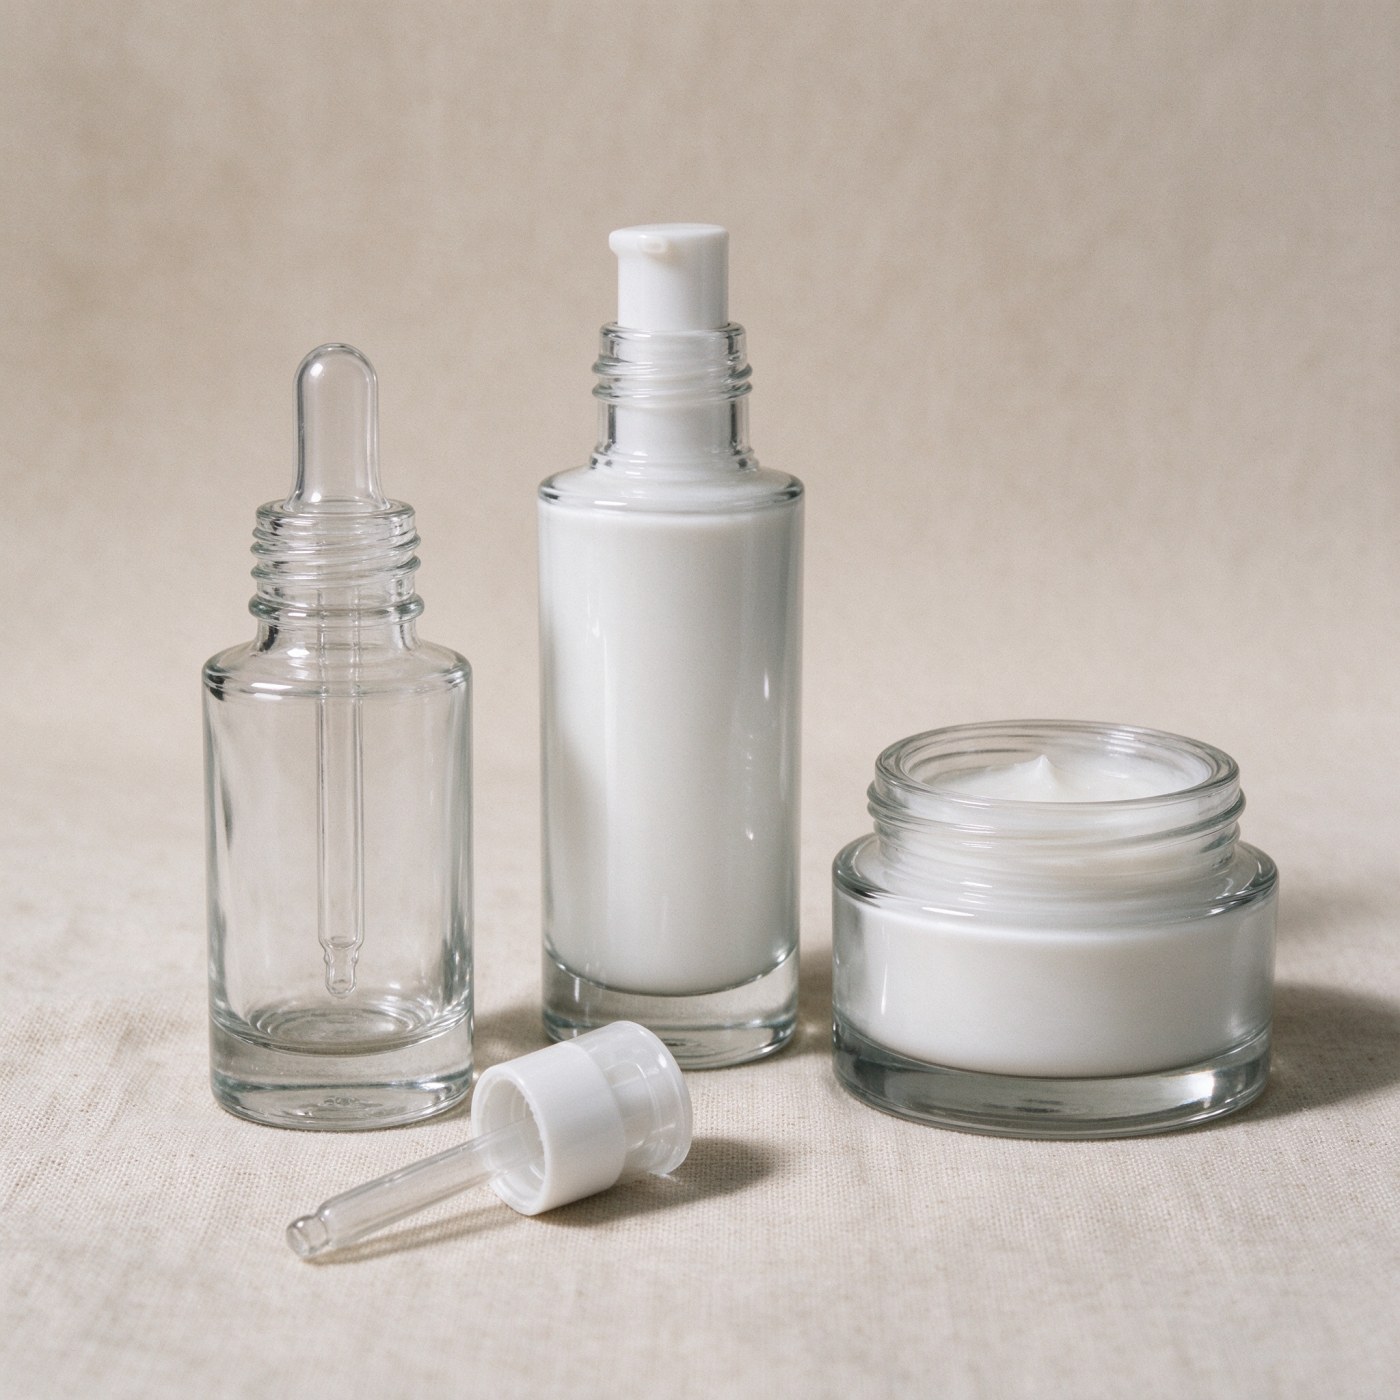
5. Jars follow the same logic at a wider diameter
Cream jars use continuous-thread finishes in the same series family: 48-400, 53-400 and 63-400 are the usual sizes for 15 g to 100 g jars. Two differences matter:
- The sealing surface is much larger, so flatness and the absence of a mould seam across the rim become the dominant quality issue rather than the thread itself.
- The liner, not the thread, does most of the sealing work. A lid designed around a 1.5 mm foam liner will not close on a jar quoted with a thicker liner, and a lid with a very thin liner may bottom out on the shoulder before the liner touches the rim.
For jars, always approve the liner together with the lid and the jar as one sealing system, and record the liner thickness on the drawing.
6. How to match a closure in five checks
This is the sequence we run before any cosmetic bottle leaves sampling, and it is the sequence we recommend to brands buying caps elsewhere.
Check 1 — quote the complete code. Both the bottle PO and the cap PO must carry the full designation, for example 24-410, not “24 mm”. A diameter is not a specification.
Check 2 — exchange drawings, not photographs. Send T, E, I and H with tolerances. A supplier who cannot provide those numbers for a stock mould is telling you something useful.
Check 3 — confirm the seal type. A land seal closes against the flat top rim; a plug seal closes inside the bore. The first needs a controlled, flat sealing surface; the second needs a controlled I dimension. Mixing the two is a guaranteed leak.
Check 4 — count thread engagement. For a liquid product you generally want at least one and a half turns of engagement before the liner contacts the rim, and a further partial turn that compresses the liner. If the cap reaches its mechanical stop before the liner compresses, you have a joint that holds nothing.
Check 5 — fit test on both sides, then torque. Thirty bottles and thirty caps, hand-applied first to catch gross errors, then applied at the torque band you will actually run on the line. Measure removal torque and check for liner compression marks on every bottle. If only one side has samples, you are testing a guess.
Remember that tolerances stack. Two parts can each be inside their own tolerance band and still fail together, because one sits at the upper limit and the other at the lower limit. That is why the fit test, not the drawing review, is the final gate.
7. The failures we see most often, and what causes them
- Cap spins freely and never tightens. Wrong series on a matching diameter, or a missing liner, or a cap quoted for a shorter finish.
- Cap bottoms out with a visible gap at the shoulder. Finish height too short for the cap, or the liner is thicker than the cap was designed for.
- Leak at the shoulder rather than the cap. Plug seal against a bore that runs oversize, or a land seal against a rim with a mould seam across it.
- Tamper-evident band will not seat, or tears unevenly. The band needs a defined ledge on the finish to catch. If the finish height is short, or the closure was designed for a different series, the band sits high and breaks at the wrong point on opening.
- Weak mist or a pump that drips. Air leaking past the collar because the bore is inconsistent, or because a crimp or screw-on sprayer was matched to a finish of the wrong height.
- Pipette does not reach the product, or protrudes through the cap. Bottle height, finish height and collar depth were quoted separately. A one millimetre change in finish height moves the pipette tip by the same millimetre.
8. Liner chemistry: where most leaks actually start
The liner is the part of the closure that touches your formula, and it is usually the last thing a brand specifies. The common options:
- EPE foam — expanded polyethylene, the default for creams and lotions. Cheap, forgiving, compresses well. Poor resistance to solvents and some fragrance concentrates.
- PE and PP — firmer, better chemical resistance. PP is the usual choice for alcohol-rich fragrance.
- PET — rigid with a good barrier and a crisp seal face, widely used on fragrance and alcohol-based products.
- Silicone — heat resistance and good recovery, useful where a closure is opened and closed repeatedly, such as a jar in daily use.
- Aluminium foil — the strongest barrier for oxygen and fragrance retention, but it reacts with acids, so it needs a coating or a different choice for AHA and vitamin C formulas.
Two rules cut most of the risk. First, do not approve an acid or alcohol formula against an uncoated aluminium liner; the reaction shows up as darkening, pitting, or a smell that was not in the concentrate. Second, test the finished pack, not the component: 48 hours inverted at 40 °C, plus three thermal cycles between fridge and 45 °C, will expose a liner problem long before your customers do.
9. What belongs on the purchase order
If you take one thing from this article, take this checklist. It is the difference between a first order that runs and a first order that is reworked at your own cost.
- Full GPI code (for example 18-415) written on both the bottle and cap order
- A drawing showing T, E, I and H, each with a tolerance
- Sealing surface flatness and the finish height measured from a defined datum
- Liner material and thickness, named explicitly
- Target torque band for the capping line, and the removal torque acceptance range
- Test protocol: vacuum decay leak test, inverted storage, thermal cycling, and a drop test to ISTA 3A for export cartons
- Packaging method: layer pads, dividers, pallet pattern, and whether caps ship separately
10. The QC that has to happen at the factory
Neck dimensions are not something a buyer can inspect at destination, because by then a failure has already cost you a container. This is what we run:
- go/no-go gauge checks on the T and I dimensions, sampled per cavity and per hour, not per batch
- full dimensional measurement on first-off parts and at each shift change
- 100 per cent visual inspection for cords, checks and mould seams, with extra attention to the sealing surface
- leak testing on sampled bottles with the actual production cap, not a laboratory substitute
- carton drop testing to ISTA 3A for export shipments
- a retained golden sample of the approved bottle, cap and liner combination, kept for the life of the project
11. Timeline and cost, honestly
Neck finishes are the cheapest part of a bottle to get right and the most expensive to get wrong.
- Standard finish on a stock mould — no tooling, samples in days, production typically 15 to 25 days depending on decoration.
- New or modified finish — a new mould, 15 to 25 days for tooling plus samples, and your cap may need a new mould too. Budget six to ten weeks, not two.
- Caps carry their own MOQ — often 5,000 to 10,000 pieces, independent of the bottle quantity. Ordering 500 bottles and 500 caps is rarely possible on a custom closure.
For order quantities and how they interact between bottles, caps and decoration, see our MOQ guide for glass packaging.
12. Quick answers
- Is 18-410 the same as 18/410? Yes. Hyphen, slash and the word GPI all refer to the same designation.
- Can I use a 24-410 pump on a 24-415 bottle? The diameter will engage, the series will not seal. Do not do it.
- Will a DIN 18 cap fit an 18-415 bottle? Often, but the bore and finish height decide it. Verify against the drawing and fit test.
- What tolerance should I ask for on T? Ask for the drawing value, typically a few tenths of a millimetre, and never accept a verbal “standard”. The number, written down, is the whole point.
13. Why brands bring neck-critical projects to DELN
We have been producing cosmetic glass packaging for over 20 years, and the neck finish is the part of the job we spend the most time on. What that means in practice:
- in-house mould development, so a finish can be adjusted rather than inherited
- gauge-controlled neck inspection per cavity, with dimensional reports issued with the shipment
- matched closure sourcing, with the bottle, cap and liner approved as one system before mass production
- a physical sample kit — bottle, cap and liner together — sent for your own fit test on your own line
Send us the product, the target market and your filling line details, and we will come back with a neck recommendation and a drawing you can send straight to a cap supplier. Contact us or message us on WhatsApp to start.
Further reading: Pump, dropper, spray or jar · Serum dropper bottle range.